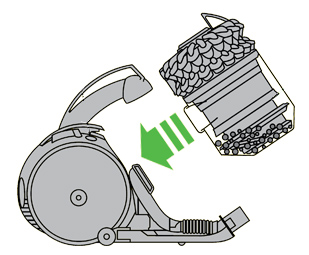
Cleaning the bin and cyclone
Step 1 - Removing the clear bin and cyclone
- To remove the cyclone and clear bin, push the release button to the side of the carrying handle, as shown. The carrying handle will be released. Remove the cyclone and clear bin unit.
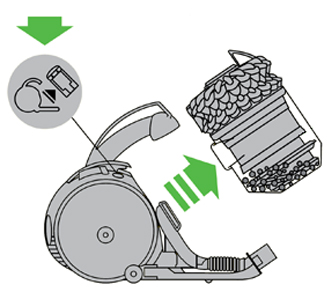
Step 2 - Open the bin base
- To release the dirt, press the red bin release button.
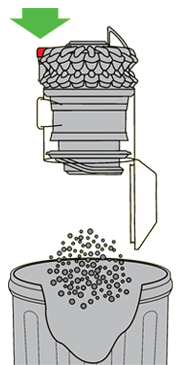
NB: To minimise dust/allergen contact when emptying, encase the clear bin tightly in a plastic bag and empty. Remove the clear bin carefully. Seal the bag tightly, dispose as normal.
Step 3 - Removing the clear bin from the cyclone
- A small silver button behind the red opening mechanism should now be exposed; press the silver button.
- Separate the cyclone unit from the clear bin.
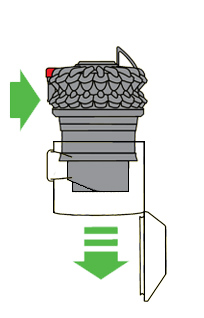
Step 4 - Cleaning the clear bin
- Clean the clear bin with cold water only.
- Do not use detergents, polishes or air fresheners to clean the clear bin.
- Do not put the clear bin in a dishwasher.
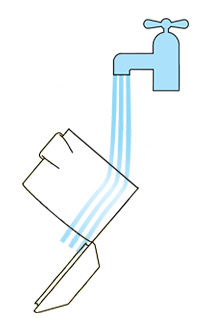
Step 5 - Cleaning the cyclone shroud
Option 1
- Clean the cyclone shroud with a cloth or the Combination tool to remove lint and dust.
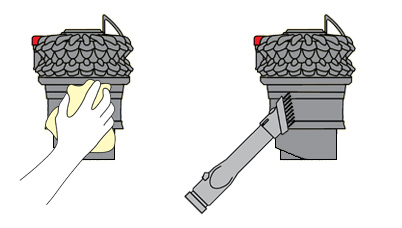
Option 2
- Alternatively, use the brush provided, with the clear bin removed or attached.
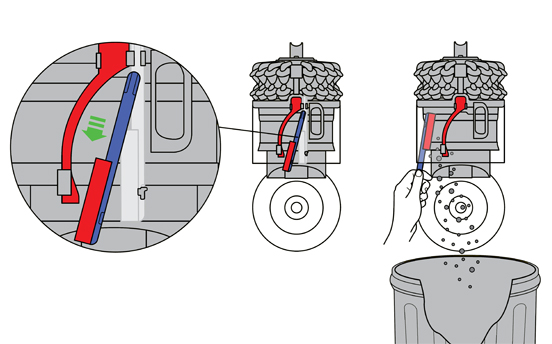
NB: Do not immerse the cyclone unit in water or pour water into the cyclones.

Step 6 - Refit the clear bin
- Ensure the clear bin is completely dry before replacing on the machine.
- Fit the cyclone shroud into the clear bin so that the silver button clicks and engages. Ensure that the front of the clear bin is locked in place.

Step 7 - Closing the bin base
- Close the clear bin base so that it clicks into place securely.

Step 8 - Replacing the bin and cyclone
- Place the clear bin and cyclone into position on the front of the main body. The recess in the base of the clear bin must fit onto the lug on the locator bracket.
- Push the carrying handle down so it clicks into place on the top of the clear bin and cyclone ensuring it is secure.
